Faces are the reason many of us pick up a pencil, and the reason plenty of us quietly put it back down. A portrait can look wrong from across the room even when the drawing is full of careful work. Usually that is because two or three small, predictable errors crept in early and then got repeated all the way to the end. Here are the seven that turn up most often in sketchbooks, and how to correct them without starting again.
1. Drawing the idea of a face rather than the one in front of you
Ask someone to draw an eye from memory and they will produce an almond with a circle inside and a few lashes. Ask them to draw the eye they can actually see and it will be a soft, slightly heavy-lidded shape with a bright patch in one corner and no outline at all. The first is a symbol. The second is looking.
The symbol habit is hard to break because it feels like progress. You know what a nose looks like, so you draw a nose. But the nose in front of you is really a shadow, a highlight and two nostril shapes, and those are what need to go down on the paper.
Fix: narrate shapes to yourself as you sketch — “dark triangle under the cheekbone”, “pale wedge across the forehead”. Where a feature defeats you, draw the shapes around it instead and let the feature appear in the gap. If a drawing has gone flat, copy your reference upside down for ten minutes. It forces you to see shapes rather than names.
2. Putting the eyes in the wrong place
Height
Most beginners set the eyes about two-thirds of the way up the head, which leaves a small forehead and an enormous chin. On a typical adult head the eyes sit close to the halfway mark. The cranium above them takes up as much height as everything below.
Fix: block in an egg shape for the whole head first, then draw a vertical centre line and a horizontal line at the halfway point. Only then place the features. Check it by holding your pencil at arm’s length, thumb marking the midpoint, and comparing against your sitter. Treat it as a starting point, though — children’s heads and many adult faces sit differently, so measure your own reference rather than trusting the rule.
Size and spacing
The rough guide of one eye-width between the two eyes is a reasonable place to begin, and most drawings fail it on the generous side. A more useful habit is to draw both eyes at once, moving between them in the same pass. Eyes drawn one after the other, each finished before the next, always drift apart.
- Is the gap between the eyes about the width of one eye?
- When the head turns, is the far eye slightly narrower than the near one?
- Do the inner corners sit roughly above the outer edges of the nostrils?
- Are both pupils looking at the same thing?
3. Forgetting that a head is a solid object
Drawing feature by feature produces a mask, not a head. A skull is closer to a carved block than to a flat oval: a front plane, angled side planes, a brow ridge that juts forward, eye sockets that sit back, cheekbones that catch light and a jaw that turns under towards the neck.
Fix: before any features, spend two minutes on the big form. Draw a centre line curving over the forehead, down the nose and onto the chin. Mark the brow ridge and the turn of the cheek. Imagine each plane as a facet, then soften the joins. A face with its planes intact will hold up even when the likeness is only approximate; a face assembled like stickers will not, however neat the details.
4. Outlining everything
Faces have almost no outline. Where a cheek meets the background there is a change of tone, not a line, and yet beginners happily draw a complete almond border round each eye and an M-shaped border round the lips. The result looks like a colouring book.
Fix: squint at your reference until the detail collapses into patches of light and dark, then draw those patches as shapes. Sketch the shadow beneath the nose as a shape rather than drawing a nose. Use the side of the pencil for broad tone and save your hardest, crispest edges for the places where the form genuinely turns away from you.
5. Rushing into detail before the structure is right
Twenty minutes on eyelashes is time wasted if the jaw sits half an inch too low, because the whole head will need redrawing anyway. Detail is also the stage where most people stop checking the whole.
Fix: work in passes. Block in the gesture and proportions, then the planes, then the big shadow shapes, then the features, and only then the fine marks around the eyes and mouth. Step back every few minutes. A mirror or the front camera on your phone flips the drawing and exposes whatever you have stopped noticing.
“Would this read from across the room?” is a more useful question than “is this eyelash correct?”
6. Neglecting the parts that hold the head up
Ears get left off or attached like handles. Hair is drawn strand by strand until it looks like wire. The neck is forgotten entirely, so the head floats above the shoulders like a balloon.
Fix: simplify. Treat hair as a few large shapes with a light side, a dark side and a soft edge where it meets the face, then add a handful of strands along the silhouette. Ears need three or four clear shapes and a shadow inside the bowl, no more. The neck is a cylinder that tilts, and the shoulders slope down and away from it. Give them five minutes and the face above suddenly belongs to a body.
A short routine that fixes most of it
If you want to train these habits out rather than just read about them, work through this once a week. It takes about forty minutes and it is more useful than a single laboured portrait.
- Two-minute thumbnails. Block the head, centre line and features as faint marks. Do three from different references. No detail allowed.
- One measured study. Halfway line only, checked with your pencil at arm’s length.
- An upside-down copy. Turn a photograph through 180 degrees and draw what you see.
- A five-value sketch. Squint, then note only the five main tones with a soft pencil.
- A ten-minute drawing with no outlines. Shadow shapes only, no contour lines at all.
Keep the pages you dislike. Date them, put them in a folder and look again in a month. These mistakes are not signs of a lack of ability; they are the ones everybody makes, and the real skill is spotting them halfway through a drawing while there is still time to fix them.
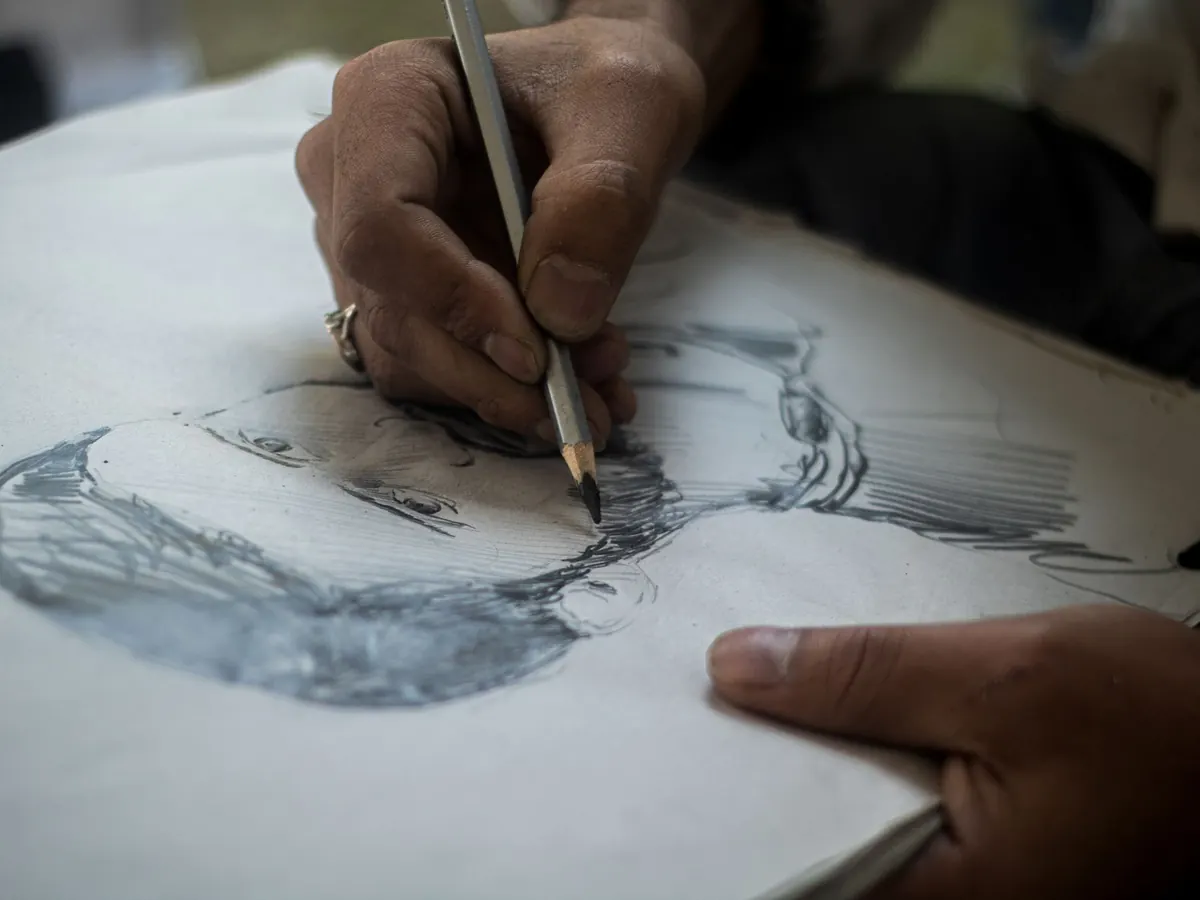
Photo: Tauseef Khaliq / Pexels