Most British gardens are not tidy. Even the well-kept ones are crowded and damp, full of plants leaning into each other: a rose pushing through a clematis, a foxglove seeding itself into the gravel, moss along the top of a wall. That crowding makes the subject worth drawing, and it is also what makes it hard.
The answer is not to draw it all at once. Build the sketch in three passes — pencil for the bones, watercolour for colour and light, ink for the detail — and a tangled border becomes something you can finish in half an hour, sketchbook on your knee.
Why three layers suit a British garden
Each layer answers a different question. Pencil asks where things are and how big they are in relation to one another. Wash asks what colour mass each thing makes and where the light is coming from. Ink asks what the eye actually notices: the darkest gap, the sharpest edge, the one leaf that holds the attention.
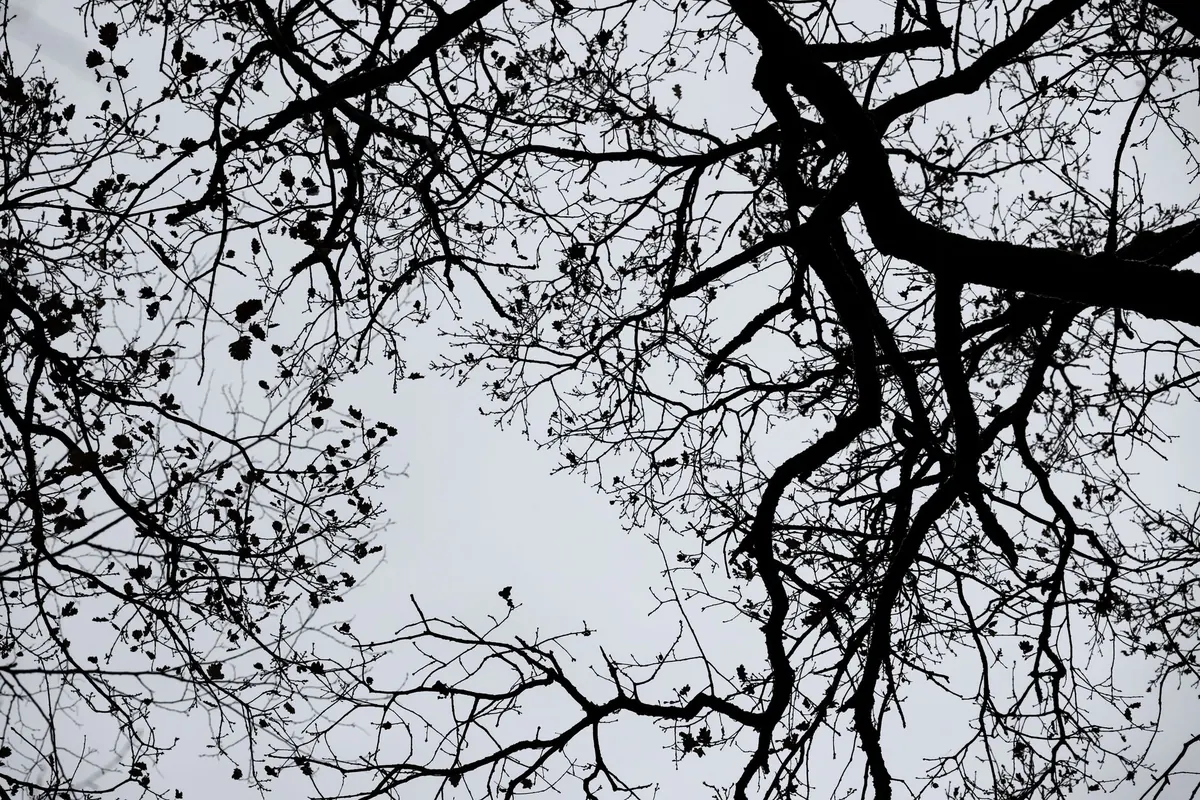
Overcast light, which is what we get for much of the year, offers little in the way of dramatic shadow, so structure and dark accents have to carry more of the drawing. This is exactly what the three-layer method supplies. In bright, hard sunlight you could describe a scene almost entirely with shadow shapes — long, clear, decisive. Under a white British sky there are no such shapes to lean on. You have to build the drawing out of edges, silhouettes and a handful of carefully placed darks instead, which is precisely what the final ink pass is for.
There is a second reason, and it has to do with colour. British gardens are overwhelmingly green, and green done badly is the flattest thing in a sketchbook. Working in layers lets you lay down two or three deliberately different greens as loose washes and let them bleed into one another on damp paper, rather than trying to mix the colour of every leaf. The variety happens in the washes. It does not happen in the drawing.
The order matters, and it should not be shuffled. Wash over wet ink makes it bleed and grey off. Ink over a fussy pencil drawing simply traces the drawing a second time, and the result looks stiff. Pencil, wash, ink — each pass simplifying and correcting the one before it.
Layer one: pencil for the bones
Give this five to eight minutes, no more. You are not drawing plants yet. You are deciding where the big shapes sit and how they relate. Work with the side of a soft pencil or light strokes of an HB, and resist the urge to rub anything out — erasing scuffs the paper and dulls the wash that follows.
Start with a horizontal you can trust: the top line of a brick wall, the clipped line of a box hedge, the rail of a fence. That single line anchors the whole page, and everything else is measured against it. Then block the big masses in as rectangles and capsules — the mound of the herbaceous border, the dark bulk of a shrub, the wedge of lawn. Do not outline anything. Think of it as stacking shopping bags, not drawing flowers.
Next, find two or three vertical accents. These are the things that make a border readable at a glance: a foxglove spike, the stems of a climbing rose, a delphinium, a bamboo cane, the post at the end of the path. Two or three is plenty. A border drawn with ten verticals is a border that no longer has any.
To get proportions right, use the pencil as a measure. Hold it at arm's length, close one eye, and set your thumb so the visible tip of the pencil matches the height of a wall or a shrub. Then turn the pencil sideways and compare that length with the width of the path. Write nothing down; just adjust your marks. This one habit will do more for your garden sketches than any amount of practice at drawing leaves.
A pencil checklist before you move on
- One clear horizontal (wall, hedge or fence line).
- Three or four blocked masses, none of them outlined.
- Two or three vertical accents, no more.
- The path, lawn or gravel edge placed and running somewhere.
- Your lines still light enough to be ignored.
Layer two: wash for colour and light
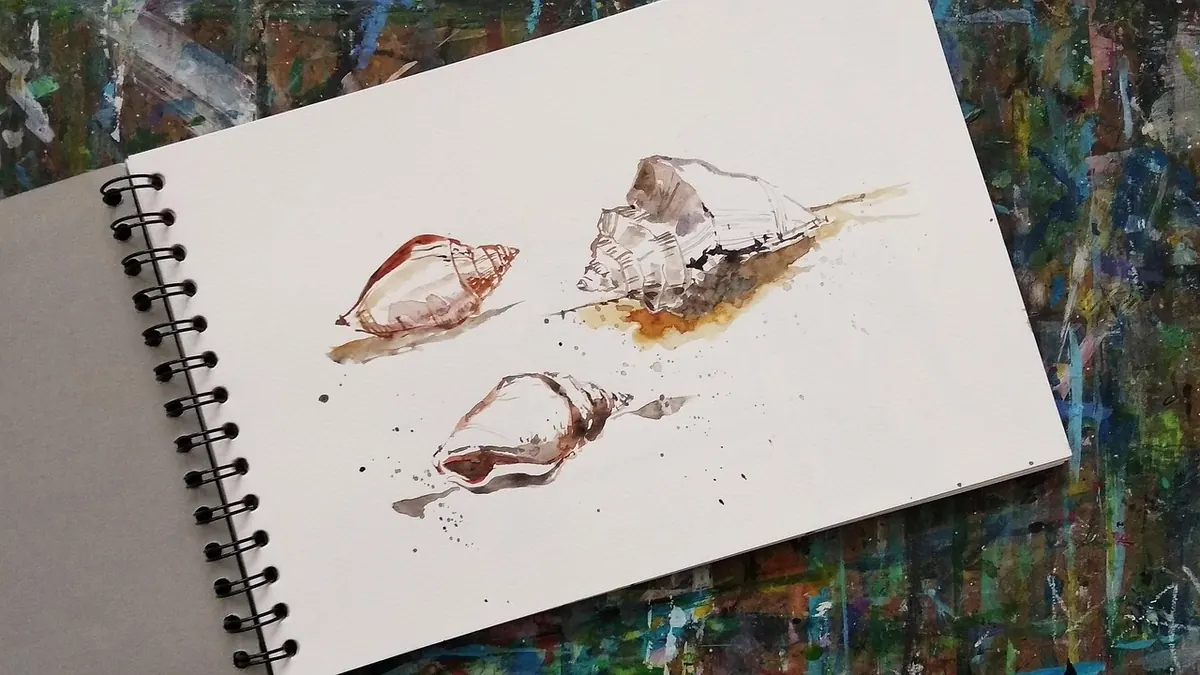
Now you put down colour, and you put it down fast, before the pencil drawing tempts you into detail. Three or four mixed puddles are enough. A cool green — sap green with a touch of French ultramarine — for foliage in shade and for anything receding. A warm green, the same sap green nudged with yellow ochre or a whisper of burnt sienna, for leaves catching the light. A neutral grey-brown for paths, gravel and brick. And one dark, made from ultramarine and burnt umber, which you will hold back for the deepest recesses.
Paint the big masses wet-in-wet. Load the brush once, drop the colour onto the paper, and let it sit. Where the mound of a shrub meets shadow, touch in the cool green while the first is still damp and let the two find their own edge. Leave plenty of paper untouched: in an overcast garden, the white of the page reads as light on wet stone, on a gravel path, on the pale underside of leaves. Gaps left in a hedge are far more convincing than any texture you could paint into it.
Flowers get one stroke each, and often less. A rose is a soft blob of pink with a slightly deeper mark inside it. A foxglove is a vertical smear of purple-grey with two or three dots for the bells, and you will add those with ink later. The sky is best left as paper, or given one very pale grey wash that stops short of the trees.
If you can still see the pencil drawing through your wash, the wash is doing its job. If you cannot, you have painted too much.
Then stop and let it dry properly. Damp paper and a pen are a bad combination, and nothing spoils a garden sketch faster than an ink line that spreads into a blush of grey.
Layer three: ink for the detail and the darks
This is the most enjoyable pass, and the shortest. Use a waterproof fineliner, ideally two weights: something around 0.1 for fine work and a 0.3 or a soft brush pen for weight. The whole point of ink is variation. A line under a leaning foxglove should be almost nothing; the line where a wooden post meets a shadow should be almost black.
Draw only what you actually noticed when you first stopped and looked at the garden. Not every leaf, not every stem. The tendrils of a clematis finding the wire. The moss line along the top of a wall. The single leaf that catches the eye because it is turned the wrong way and shows its pale underside. Three or four such moments will lift the whole page.
Then place your darks. The darkest tone in a crowded border is almost always in the gap between plants, low down, where the light never reaches — the slot of shadow between a wall and the stems in front of it. Fill two or three of those with short hatching or a solid shape, and the drawing suddenly gains depth. Finally, hatch the shadow under a stone, the underside of a bench, the inside of a doorway, and leave everything else alone.
A worked half hour
Here is how the three layers fit into thirty minutes in a real border, say a south-facing wall with a path in front of it.
- Minutes 0–3: Sit down, get comfortable, and look. Pick one thing that interests you — a foxglove leaning out over the path — and decide that the sketch is about that.
- Minutes 3–10: Pencil. Wall top as a horizontal, border mass as a block, path edge, two vertical accents.
- Minutes 10–12: Mix your greens and your grey-brown. Do not mix more than four colours.
- Minutes 12–22: Wash. Cool green for the mass, warm green for the top edges, grey-brown for the path, dark reserve under the border. Leave white paper for sunlight and gravel.
- Minutes 22–25: Wait. Look at the garden again. This pause is part of the method, not a delay.
- Minutes 25–30: Ink. The foxglove spike, the clematis tendrils, the moss on the wall, the darkest gap under the border.
Common mistakes
- Starting with ink. It feels decisive and it locks you into a drawing you have not yet thought through.
- Painting every leaf. Wash describes mass and light. The individual leaf is the ink pass's job, and only for two or three leaves.
- One green. Two or three related greens, mixed slightly differently each time, will do more for a border than any amount of careful drawing.
- Filling the page. The white paper is the brightest light in the sketch. Protect it.
- Overworking the pencil. A dark, heavy underdrawing shows through every wash and makes the finished sketch look muddy.
What to carry
A sketchbook that opens flat and takes a wash without buckling, roughly A5 — small enough to hold on your knee. A portable pan set of eight or twelve colours, a water brush or a small folding brush, a soft pencil, and one or two waterproof fineliners. Add a folding stool if you like sitting, and a cloth for drying the brush. Everything fits in a coat pocket, which matters, because the best light in a British garden often arrives ten minutes before it rains.
None of this produces a botanical illustration, and that is the point. What you get is a record of half an hour in one particular garden on one particular grey afternoon, with the wet path and the leaning foxglove in it. That is worth more than a tidy drawing of a garden that never existed.
Photo: Chun-San / Pixabay